
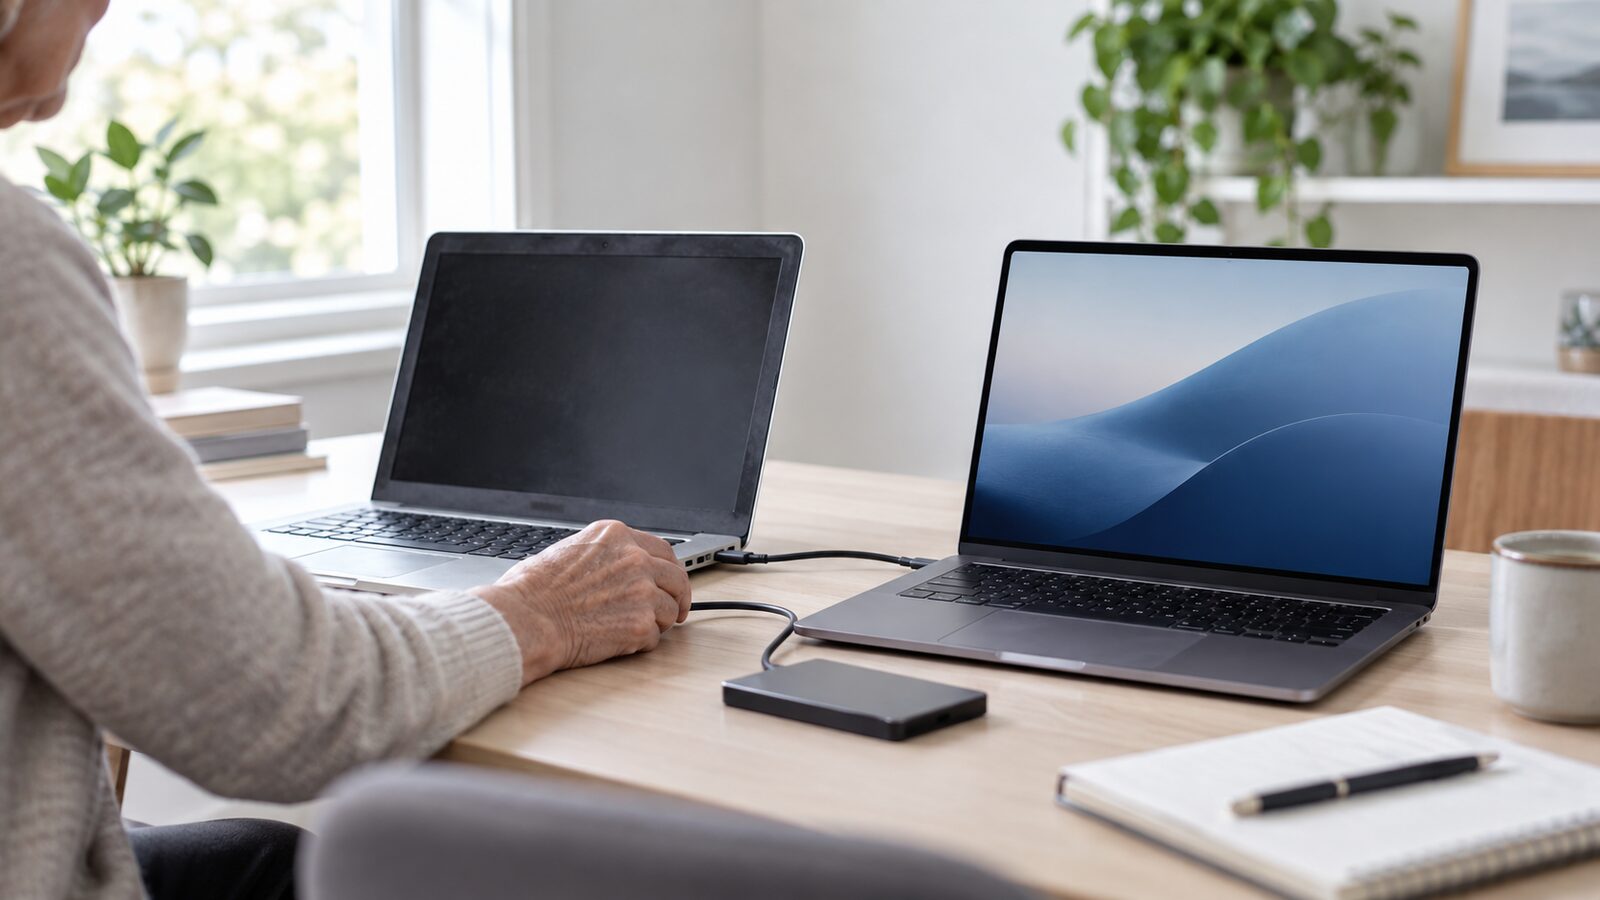
Moving to a new Mac does not have to mean starting over. Apple’s built-in Migration Assistant can copy user accounts, documents, settings, and other information from an old Mac, a Time Machine backup, or another startup disk. iCloud can bring many Apple services back after you sign in.
Current as of September 6, 2026: Apple may move or rename settings in future macOS updates. If you do not see a path exactly as written, open the Apple menu, choose System Settings, and use the search field. Search for Time Machine, Apple Account, iCloud, software update, or Migration Assistant. The screens may look different while the basic process stays similar.
Before you start
Choose a time when you will not need either Mac for a while. Transfers can take a long time if you have many photos or large video files. Keep the new Mac connected to power. If you have a MacBook, connect the old Mac to power too.
Have the following ready:
- The login password for the old Mac and the Apple Account password, typed by you when the Mac asks.
- A working Wi-Fi network, or a compatible cable if you plan to use a wired connection.
- A recent Time Machine backup or another backup of important files.
- Passwords for email, banking, work, and other accounts, kept private.
- Time to check the new Mac before erasing the old one.
Safety reminder: Never give a helper your Mac login password, Apple Account password, or text-message verification code. A helper can explain where to type information, but you should enter private details yourself. Do not install remote-access software because an unexpected caller says your Mac has a problem.
Step 1: Back up the old Mac
Before moving anything, make a fresh backup. Search System Settings for Time Machine and use a compatible external drive if you have one. Wait until the backup finishes. If the drive has not been used recently, allow extra time.
Also review important folders in Finder, including Documents, Desktop, Downloads, Pictures, and any folders you created. Open a few files from the backup or confirm that the backup date is current. Do not rely on memory alone.
iCloud Drive may sync some files, and iCloud Photos may sync your photo library. Syncing is useful, but it is not the same as a separate backup. Important family photos and documents should have another copy when possible.
Step 2: Update both Macs
On the old Mac, search System Settings for software update and install available updates if the Mac supports them. Do the same on the new Mac when setup allows it. Updated Macs often work better together.
If the two computers cannot run the same macOS version, Migration Assistant may still work, but the screens or choices can differ. Apple may ask you to update the new Mac before continuing. Follow the onscreen instructions and do not shut down a Mac during an update.
Step 3: Sign in to iCloud on the new Mac
During setup, the new Mac asks for an Apple Account. Sign in on the Mac’s normal setup screen. After setup, open System Settings, click your name, and search for iCloud. Review the services you want to use, such as iCloud Drive, Photos, Notes, Contacts, Calendars, passwords, and Find My.
Use the same Apple Account that you used on the old Mac if you want the same iCloud information. If your family uses more than one Apple Account, check carefully before signing in. The wrong account can make it appear that files or photos are missing.
Step 4: Start Migration Assistant
On the new Mac, open Migration Assistant. You can find it by searching with Spotlight or by searching System Settings for Migration Assistant. The old Mac may also need Migration Assistant open. Follow the onscreen instructions and choose to transfer information from a Mac, a Time Machine backup, or another startup disk.
When both Macs display a security code, compare the code. It should match on both computers. If it does not match, stop and do not continue. This code helps confirm that the two Macs are talking to each other.
Select the information you want to move. Depending on the Macs and the source, choices may include user accounts, applications, files and folders, and settings. If you are unsure, moving your main user account and files is often the most useful starting point. Some applications may need to be downloaded again or updated for the new Mac.
Step 5: Let the transfer finish
Keep both Macs connected to power and near each other. Do not close the lid of a MacBook, disconnect the cable, or restart either computer while the transfer is running. The time estimate may change. That does not always mean something is wrong.
Large photo libraries and video folders can take much longer than documents. If the progress appears slow, give it time. If the transfer stops with an error, write down the exact message before trying again. Do not erase the old Mac.
Step 6: Let iCloud finish syncing
After you reach the new Mac’s desktop, leave it connected to power and Wi-Fi. Open Photos and give the library time to appear. Open Finder and check iCloud Drive. Notes, Contacts, Calendars, and other services may also continue syncing in the background.
Do not assume that an empty-looking folder means files are gone. The Mac may still be downloading information. Search System Settings for iCloud and review the service status. If a service is turned off, compare it with the old Mac before changing anything.
Step 7: Check the new Mac carefully
Use this checklist before you retire the old computer:
- Sign in to the correct Apple Account and confirm your name appears in System Settings.
- Open Documents, Desktop, Downloads, Pictures, and your other important folders.
- Open several documents, photos, and videos to make sure they work.
- Open Photos and check recent pictures and older family albums.
- Open Mail, Contacts, Calendar, Notes, Reminders, and Safari.
- Test Wi-Fi, sound, the camera, microphone, printer, and any external monitor.
- Check that important applications are present and update them through official sources.
- Open Time Machine settings and make a backup plan for the new Mac.
- Check Find My if you use it, so the new Mac can be located if it is lost.
Some apps, email accounts, printers, and subscriptions may require you to sign in again. That is normal. Use each company’s official app or website. Never read a verification code to an unexpected caller.
What happens to passwords?
Passwords saved in iCloud Keychain may become available after you sign in to the same Apple Account and turn on the password-sync feature. Other passwords may not transfer automatically. Keep a private list of accounts you need to check, but do not write passwords in an unsecured note or send them by text.
If a bank, email provider, or password manager asks for extra verification, complete it only in the official app or website. A helper can wait while you do this yourself.
What about email, printers, and apps?
Migration Assistant may move many settings and applications, but not every app behaves the same way. Open Mail and send a test message to yourself. Add the printer again if it is not listed. Search System Settings for printers when the menu is hard to find.
Download missing apps from the App Store or the software company’s official website. Avoid “driver updater” advertisements and fake virus warnings. If an app was purchased, use the account connected to that purchase.
When should I erase the old Mac?
Wait until you have used the new Mac long enough to find important files and confirm that the programs you need work. Keep the old Mac available for several days if you can. When you are certain, search for Apple’s official instructions for preparing a Mac for sale, trade-in, or recycling.
Erasing a Mac removes personal information. Read every screen carefully before choosing an erase option. If the Mac is being given to another person, make sure it is no longer connected to your Apple Account and Find My. Ask for help if you are unsure.
What if the transfer does not work?
First, keep the old Mac untouched. Check power, Wi-Fi, available storage, cables, and the exact error message. A Time Machine backup gives you another path to recover your files. If the new Mac is already set up, Migration Assistant can often be opened later to bring over additional information.
Do not delete folders from the old Mac to make room unless you have a confirmed backup. Do not install a remote-control tool because a pop-up tells you to. A slow transfer is safer than a rushed decision that removes your data.
When should you get one-on-one help?
Get help when the old Mac will not back up, the new Mac cannot see it, files are missing, iCloud shows the wrong account, or you are unsure whether it is safe to erase the old computer. A careful review can save hours of frustration and protect irreplaceable information.
For one-on-one, in-home tech help, we can prepare both Macs, guide Migration Assistant, check your files and iCloud services afterward, and explain each step in plain language. You remain in control of your passwords and codes while we help you make the move.