
Help With My Tech · Everyday tech that works together
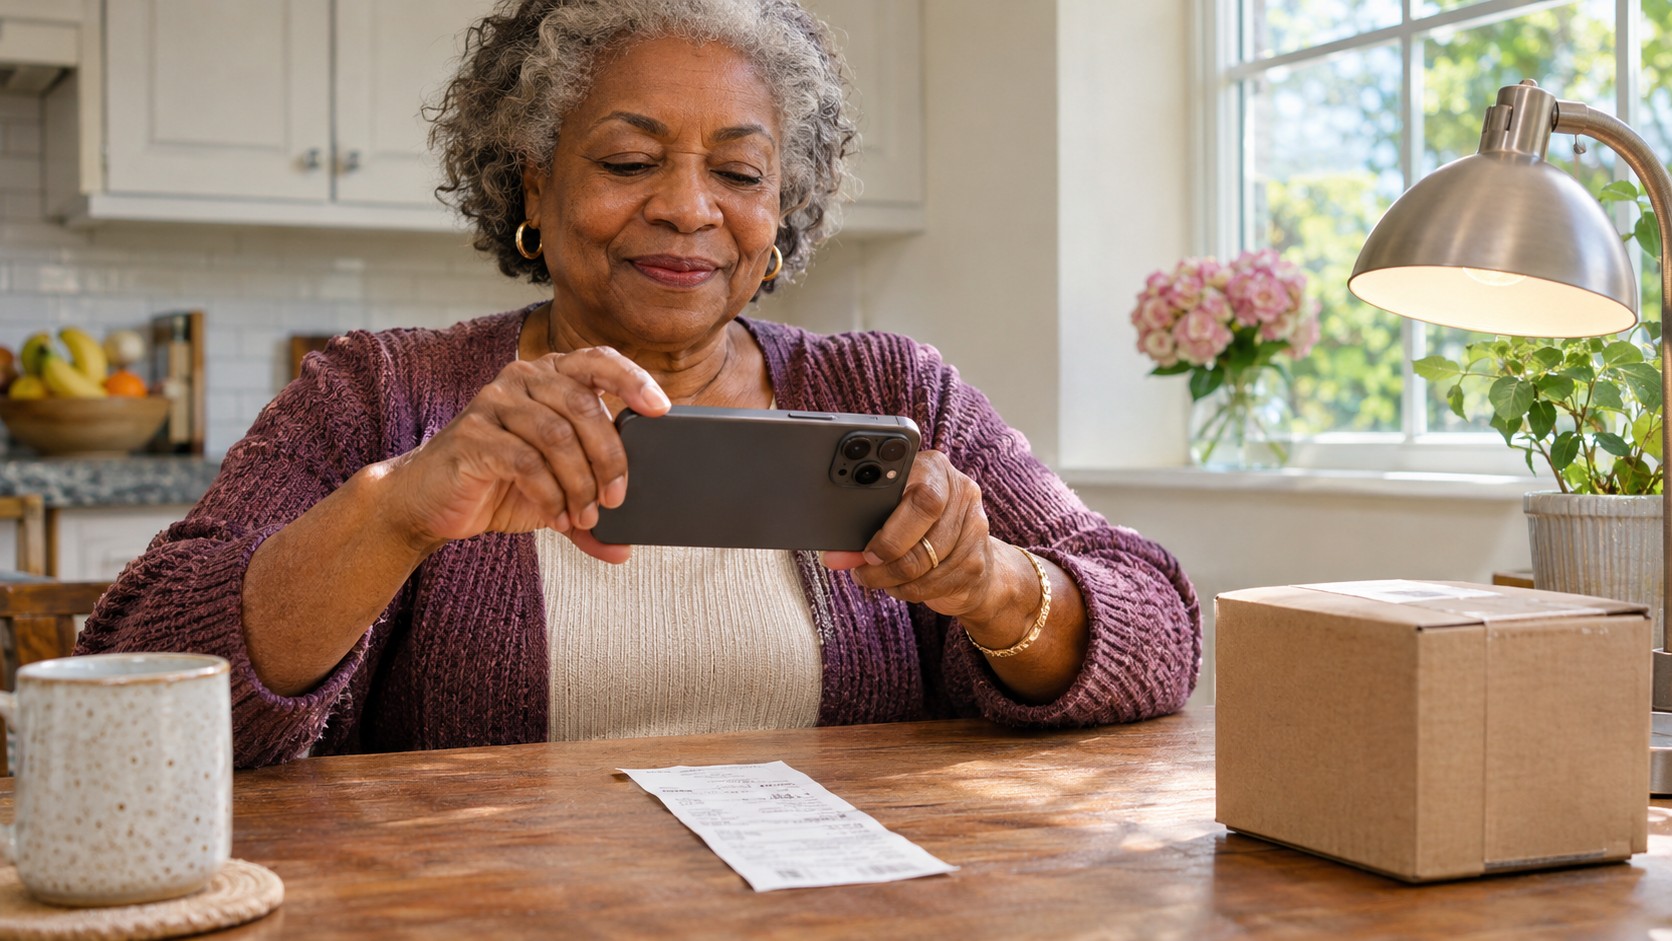
The receipt is in a drawer. The box is in the closet. You meant to decide whether to keep the item, but the return deadline slipped by. Your iPhone can help with both parts: saving the receipt and remembering to act.
Pair a document scan with a dated reminder. The scan keeps a readable copy of the paper. The reminder brings the task back when you still have time to do something about it. You can put both in Apple Reminders, so you do not need to hunt through separate apps.
Save the proof
Attach a clear receipt scan to the task so the item, purchase details, and receipt stay together.
Choose the moment
Set a reminder early enough to find the packaging, check the policy, and make the return.
Start with the store’s actual policy
Before setting a deadline, check the receipt or the retailer’s current return policy. Different items can have different rules. A sale item, opened package, or holiday purchase may have its own terms. Write down the date that applies to your purchase instead of assuming that every store uses the same window.
Give yourself a cushion. Set your first reminder a few days before the confirmed deadline. A reminder on the last possible day can arrive too late to fit a store visit into your plans.
Keep the paper receipt and any required packaging for now. A scan is a useful reference, but it does not promise that a store will accept a digital copy or approve a return.
Put the task and receipt in one reminder
- Open Reminders and choose a list you already use.
- Tap New Reminder. Give it a clear name, such as “Decide whether to return the desk lamp.”
- Add a short note with the store, purchase date, and confirmed return deadline.
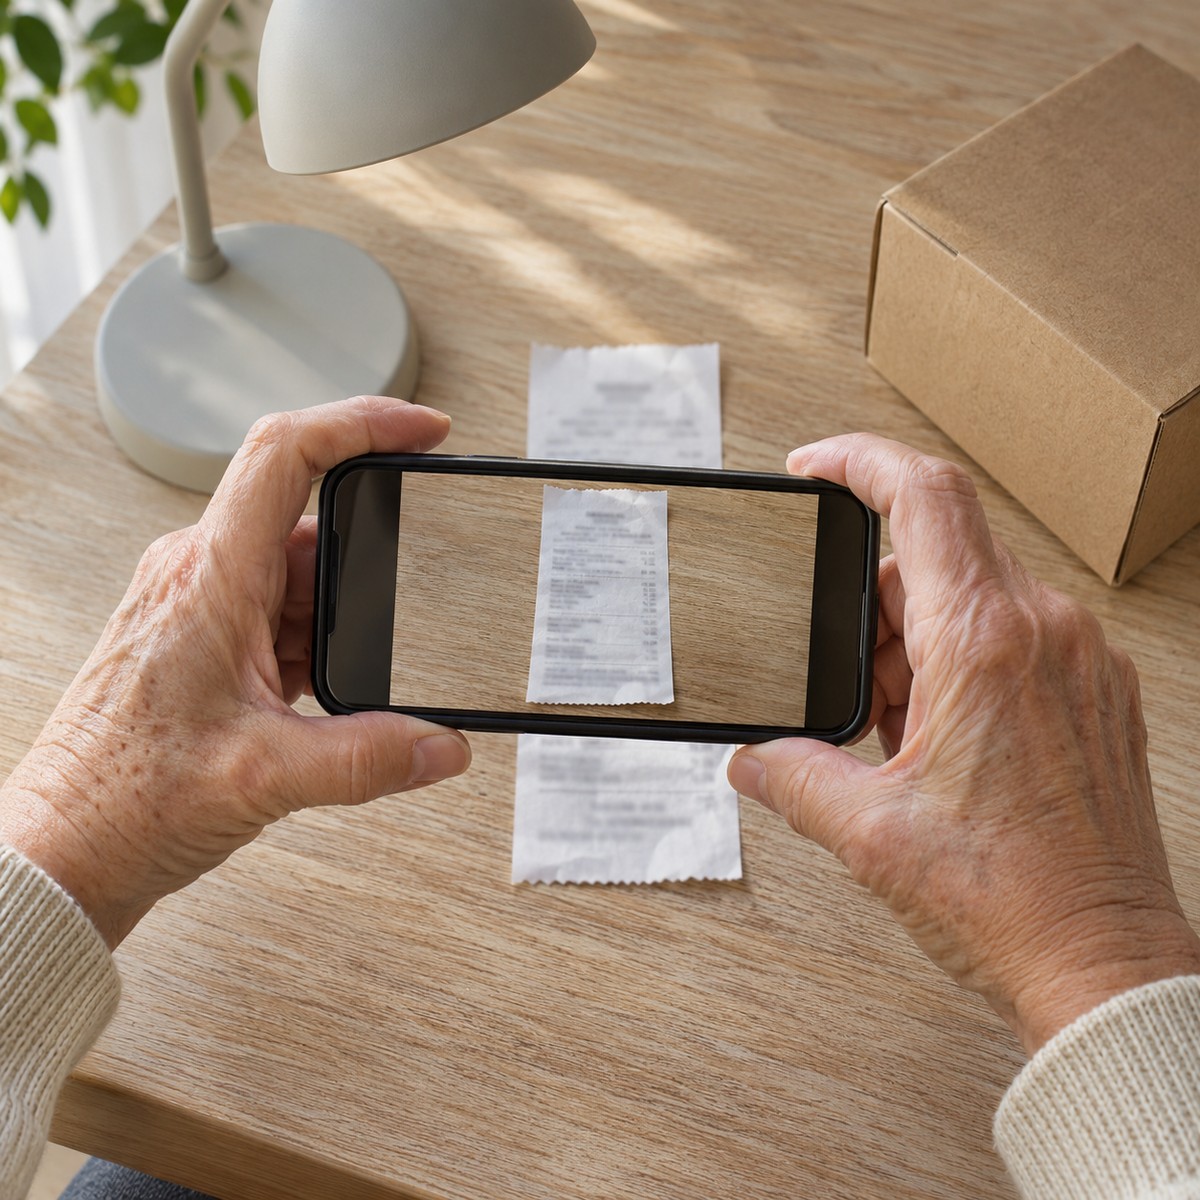
- While editing the reminder, tap the Photos or camera attachment button, then choose Scan Documents.
- Hold the phone above the receipt on a flat surface. Follow the scan controls, check the result, and save it to the reminder. If the receipt is long, include every part you may need.
- Use the Date and Time button to choose your reminder day and time. Use Custom or the date picker for your own schedule.
- Open the saved reminder once more. Confirm the scan is attached and the date and time are right.
Apple’s Reminders guide explains attachments and dates. Button labels can vary with your iOS version.
Make the scan useful before you put the paper away
A tiny, blurry receipt is not much help when you are standing at a return counter. Take a moment to inspect the saved image. Can you read the store name, item, transaction date, and purchase details? If not, try again while the paper is still in front of you.
Use steady light and avoid a shadow from your hand. Straighten a curled receipt as much as you can. If the scan cuts off the top or bottom, retake it. You do not need a perfect picture; you need a readable one.
Already have a good receipt photo? Choose it from your photo library instead of scanning the paper again. If you prefer keeping documents in Notes, Apple also explains how to scan documents in Notes or Files. The direct Reminders method simply keeps this particular task together.
A simple example: the desk lamp
Suppose you bought a lamp and want a few days to see whether it suits your room. After checking the store’s policy, you create this reminder:
- Title: Decide whether to return the desk lamp
- Notes: Store name, purchase date, and the return deadline you confirmed
- Attachment: A readable receipt scan
- Alert: An afternoon several days before that deadline
When the alert arrives, you can make a decision while there is still room to act. Keep it, return it, or move the reminder to another useful time before the deadline.
Turn the reminder into a small action plan
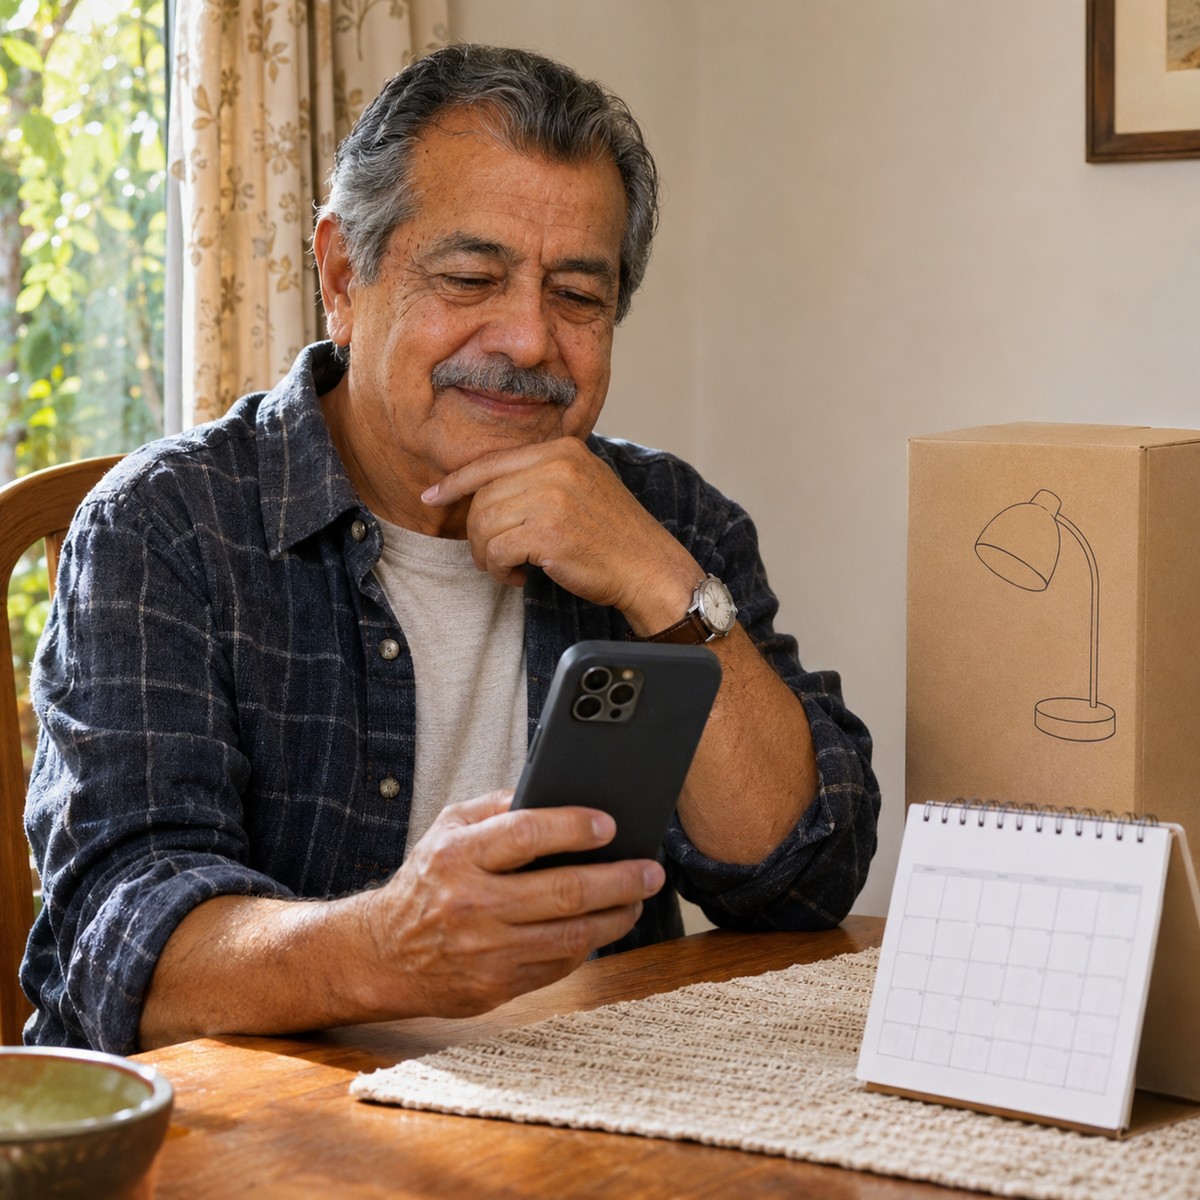
A reminder works better when it tells you what to do next. “Lamp” is easy to ignore. “Decide whether to return the desk lamp” gives you a clear task.
For something with more pieces, add a short checklist to the notes. You might write “Find the box, gather the parts, bring the payment card, and check store hours.” Only include steps that apply to your purchase. The goal is to remove the small questions that can make you put the task off again.
Once the job is done, tap the circle beside the reminder to mark it complete. Do that after you finish the return or decide to keep the item, rather than just because you saw the notification.
A few common questions
What if I do not see the scan option?
Check which account holds the list. Apple notes that some Reminders features require updated iCloud reminders and are not available with other accounts. Try an iCloud list, or attach a receipt photo instead. You can keep the date reminder useful while you sort out the attachment.
Will the scan figure out my return date?
Do not rely on that. Read the store’s rules yourself, confirm the correct deadline, and set the reminder on purpose. A purchase date and a return deadline are two different things.
What if reminders do not appear?
First confirm you assigned the right day and a time. Then check Settings > Notifications > Reminders and make sure notifications are allowed. Focus settings can also affect when alerts appear. Try a harmless reminder for a few minutes from now to check your setup.
Should I put every receipt here?
You can start with purchases that need a decision. A small, useful list is easier to maintain than a huge receipt collection. Avoid sharing a reminder list that contains purchase details you want to keep private.
Want to make this feel easier?
Help With My Tech can help you set up a simple receipt and reminder routine on your own iPhone. We will work at your pace and leave you with steps you can use again. Get in touch when you would like a hand.
Sources
Instructions checked November 11, 2026. See Apple’s guide to using Reminders, adding details and document scans to reminders, document scanning guide, and notification settings guide. Return rules come from the retailer, not from the phone.
Images: Human Imagined + AI Generated for Help With My Tech. These scenes illustrate the ideas; they are not photographs of actual customers or exact app screens.